
目录
各位运维的朋友们都有可能遇到过在公司内网环境下无法访问外网情况,无法访问外网yum源部署ZABBIX 对于rpm包依赖问题比较头疼。本文将会进行离线部署实战。同时大家也可以写成一份shell脚本直接离线安装一键部署就可以了。
离线安装的话就需要rpm包和依赖包,那么这时候我们首先就要先在有外网的环境下载下来,完了之后,可以将rpm打包起来,再写个执行脚本,就可以一键部署了;测试的话就可以找一个内网环境来测试了。
在有外网的环境中操作并下载离线安装包
1、获取zabbix源
bash#没有wget命令的可以先下载一个wget命令
yum -y install wget

#接着下载zabbix-release-5.0-1.el7.noarch.rpm包
wget https://mirrors.aliyun.com/zabbix/zabbix/5.0/rhel/7/x86_64/zabbix-release-5.0-1.el7.noarch.rpm
 显示200ok即下载成功,然后我们安装;
bashrpm -ivh zabbix-release-5.0-1.el7.noarch.rpm

bash#看一下/etc/yum.repos.d目录下多了一个zabbix.repo
ls /etc/yum.repos.d

这就相当于下载了一个zabbix的源;
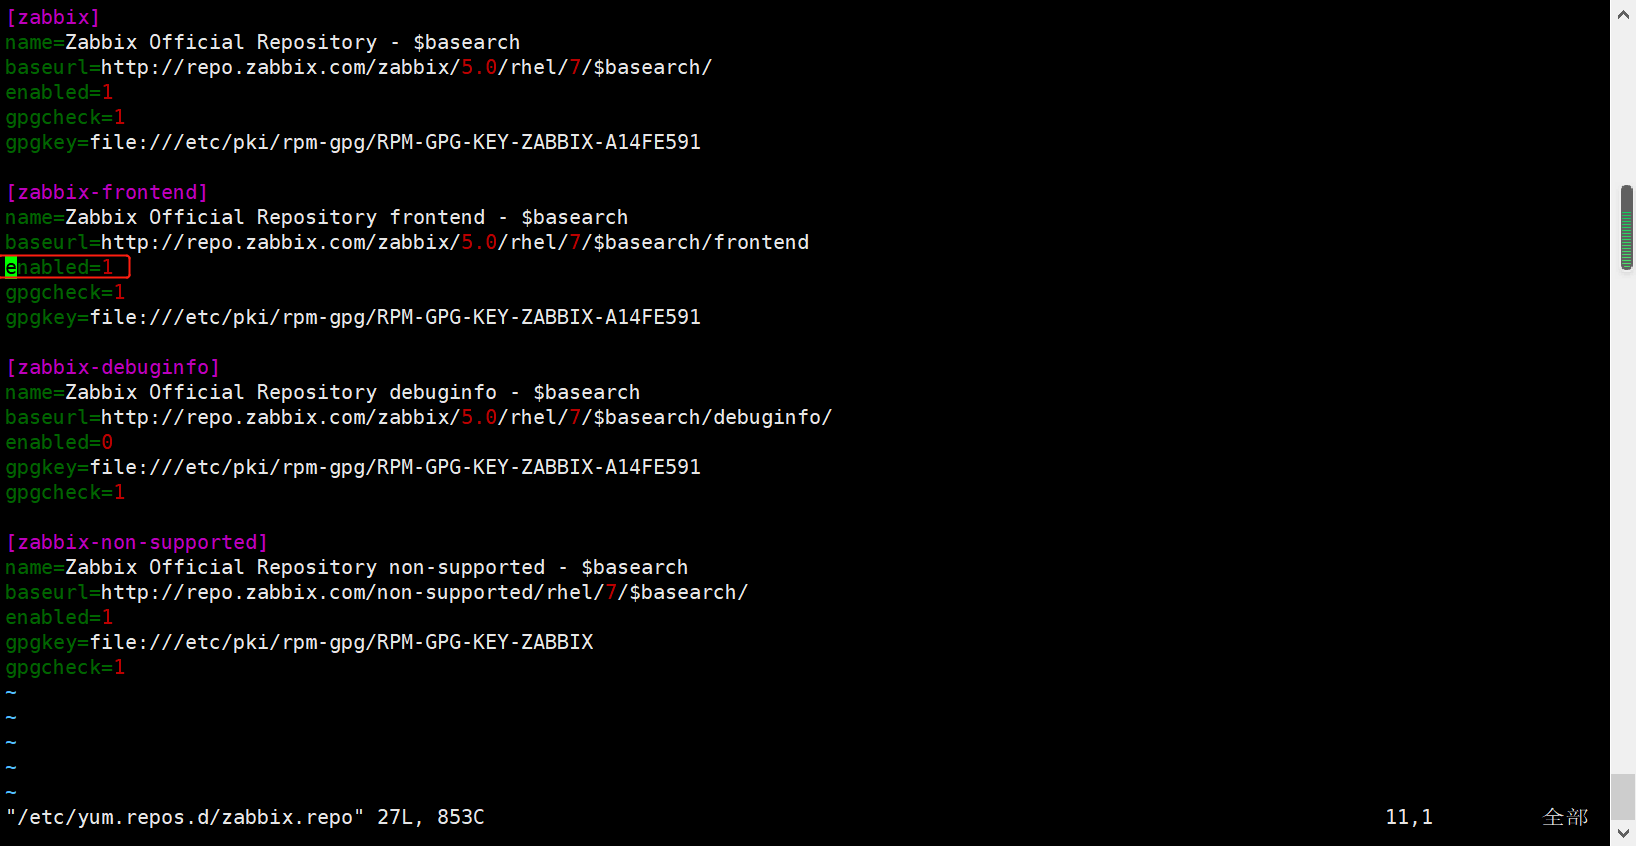
2、修改zabbix.repo文件
bash#进入zabbix.repo文件中
vim /etc/yum.repos.d/zabbix.repo
将zabbix-frontend 下面的 enabled = 0更改为 enabled = 1
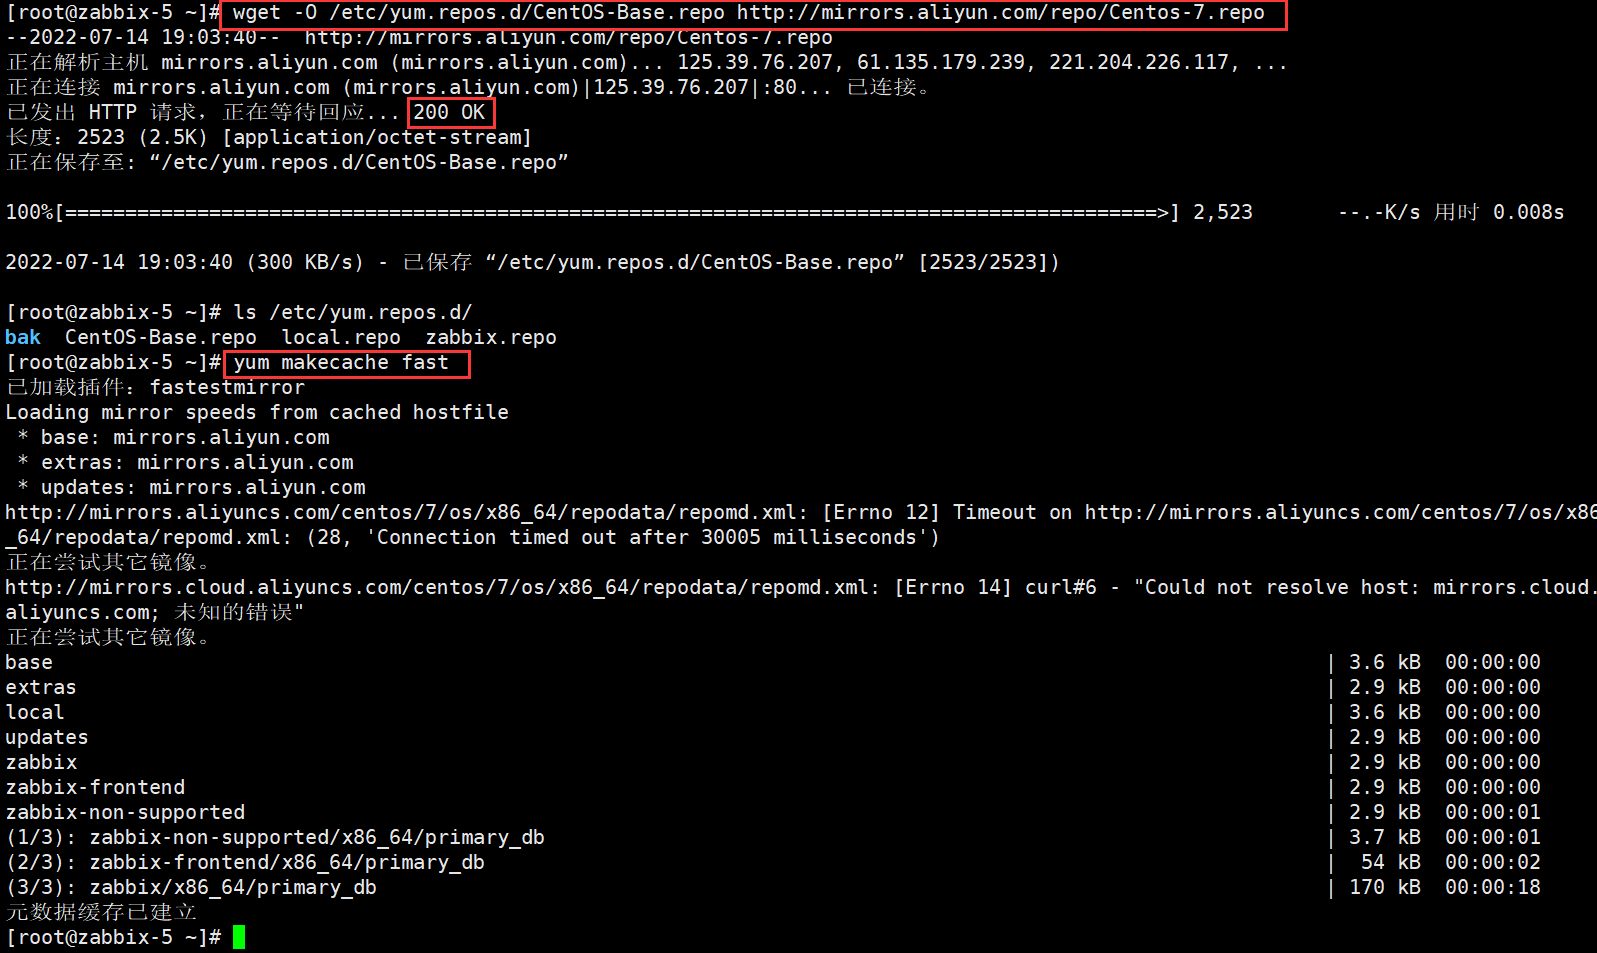
3、修改yum源为阿里源
bash[root@zabbix-5 ~]# wget -O /etc/yum.repos.d/CentOS-Base.repo http://mirrors.aliyun.com/repo/Centos-7.repo

[root@zabbix-5 ~]# yum makecache fast
4、下载安装zabbix5.0所需的rpm包
使用yum --downloadonly 进行下载rpm包和相关依赖包 –downloaddir参数可进行设置下载保存路径
下载mariadb(mysql)数据库
bashyum install mariadb-server.x86_64 --downloadonly --downloaddir=/tmp/offline_rpm
下载 zabbix主服务
bashyum install zabbix-server-mysql zabbix-agent --downloadonly --downloaddir=/tmp/offline_rpm
下载 Red Hat Software Collections
bashyum install centos-release-scl --downloadonly --downloaddir=/tmp/offline_rpm
安装 Red Hat Software Collections
bashyum -y install centos-release-scl
下载 Zabbix web服务
bashyum install zabbix-web-mysql-scl zabbix-apache-conf-scl --downloadonly --downloaddir=/tmp/offline_rpm
下载zabbix_get服务
bashyum install zabbix-get --downloadonly --downloaddir=/tmp/offline_rpm
5、创建本地yum仓库
使用createrepo来创建repository仓库,如果系统里没有该命令的话需要先进行createrepo的安装 yum -y install createrepo
bash#安装createrepo
yum -y install createrepo

#使用createrepo来创建repository仓库
createrepo /tmp/offline_rpm
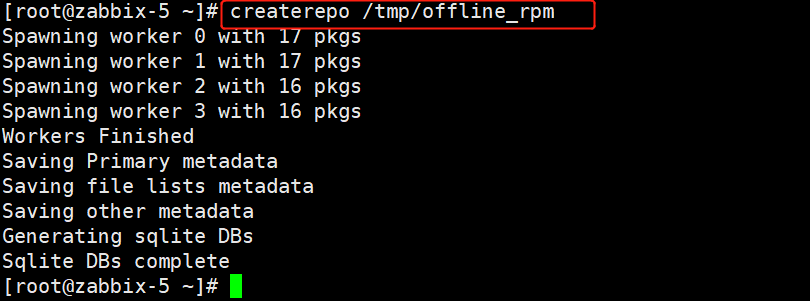
完了会生成一个repodata子目录
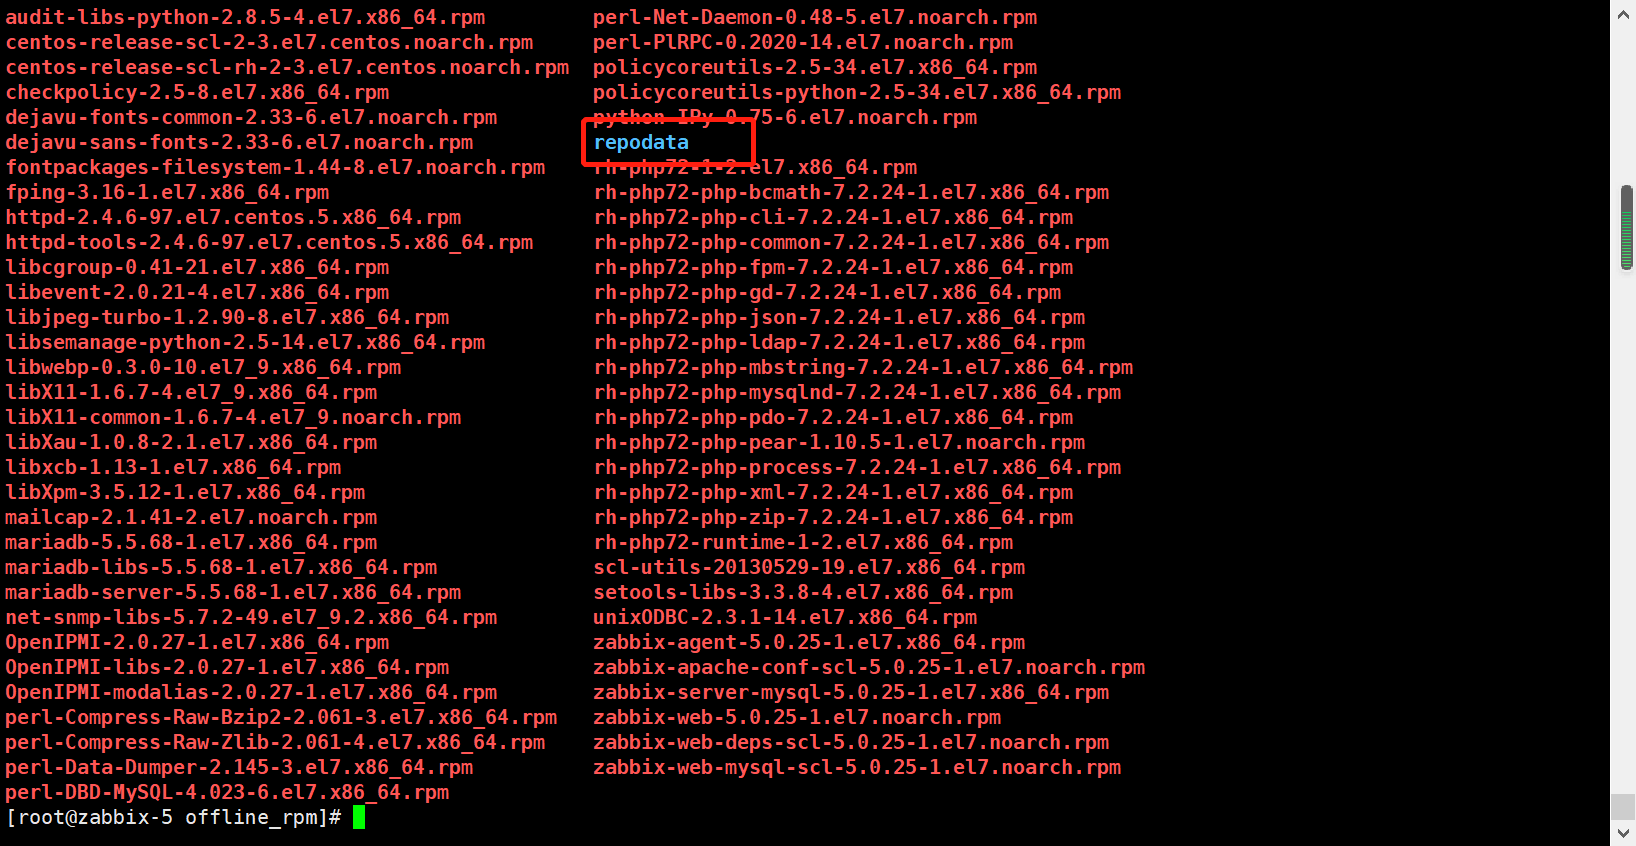
将 /tmp/offline_rpm/下面全部可以打个tar包,后续直接用脚本安装即可;
在内网中离线安装(使用脚本一键安装)
大家可以边做边写成脚本
1、准备yum仓库
将 offline_rpm.tar安装包下载下来,然后传到内网服务器中,解压,并且放到/tmp目录下。
/将etc/yum.repos.d 下面所有repo文件进行转移至bak文件夹下
bash#移动offline_rpm.tar到/tmp目录下
mv offline_rpm.tar /tmp/

#切换到/tmp目录下
cd /tmp

#解压offline_rpm.tar
tar xf offline_rpm.tar
就可以看到这个目录

bash#将/etc/yum.repos.d 下面所有repo文件进行转移至bak文件夹下
mv /etc/yum.repos.d/*.repo bak/
1.1、新建一个repo源文件
bash#在/etc/yum.repos.d/新建一个repo源文件
[root@localhost tmp]# vim /etc/yum.repos.d/new.repo

[New]
name=New
baseurl=file:///tmp/offline_rpm
gpgcheck=0
enabled=1

:wq保存退出


#清除元数据缓存
yum clean all
#加载元数据缓存
yum makecache
2、安装 Zabbix server 和 agent
bashyum -y install zabbix-server-mysql zabbix-agent
3、安装mysql数据库
bashyum -y install mariadb-server.x86_64
4、安装RHEL Software collections(SCLs)
Software collections是一个Linux软件多版本共存的解决方案。
bashyum -y install centos-release-scl
5、安装前端组件
bashyum -y install zabbix-web-mysql-scl zabbix-apache-conf-scl
6、安装zabbix-get,调试组件
bashyum -y install zabbix-get
7、配置数据库
7.1、启动mariadb并设置开机自启
bash#启动mariadb
systemctl start mariadb.service

#设置开机自启
systemctl enable mariadb.service
7.2、mysql安全配置向导(可忽略)
bash--为root用户设置密码
--删除匿名账号
--取消root用户远程登录
--删除test库和对test库的访问权限
--刷新授权表使修改生效

 mysql_secure_installation
7.3、设置mysql的登录密码
bashmysqladmin -u root password "123456"
7.4、设置mysql用户相关的操作
bash#登录mysql
mysql -uroot -p123456
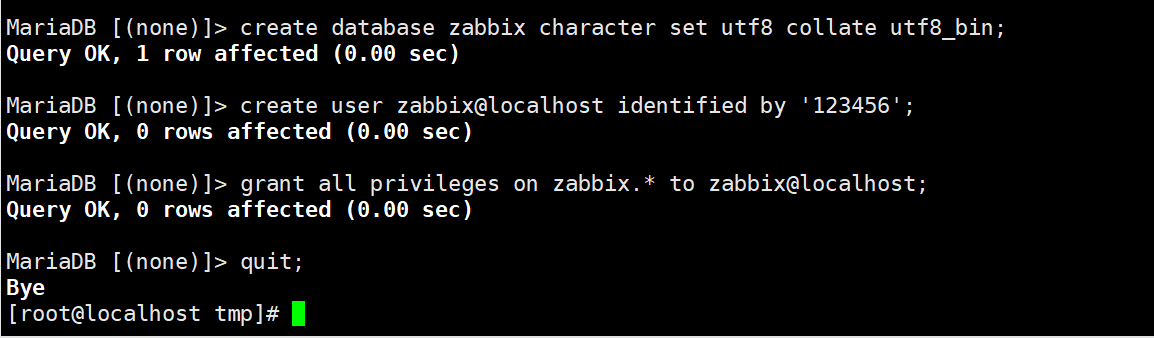
#修改数据库字符集
MariaDB [(none)]> create database zabbix character set utf8 collate utf8_bin;
#创建数据库
MariaDB [(none)]> create user zabbix@localhost identified by '123456';
#用户授权
MariaDB [(none)]> grant all privileges on zabbix.* to zabbix@localhost;
#退出数据库
MariaDB [(none)]> quit;
7.5、导入初始架构和数据
bash#查看sql文件路径
rpm -ql zabbix-server-mysql

#切换到/usr/share/doc/zabbix-server-mysql-5.0.25/目录
cd /usr/share/doc/zabbix-server-mysql-5.0.25/

#解压create.sql.gz
gzip -d create.sql.gz

#导入数据
mysql -uzabbix -p123456 zabbix <create.sql
完了之后可以自己进入数据库查验一下:
bash#登录、进入mysql
mysql -uroot -p123456
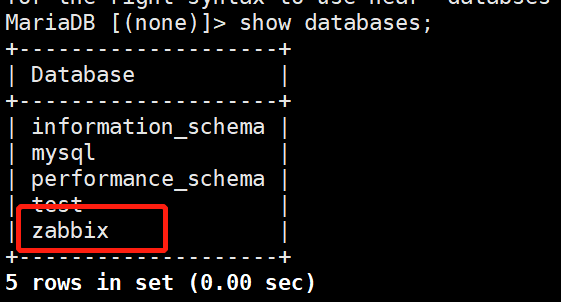
#查看所有数据库
MariaDB [(none)]> show databases;
#查看数据库表
MariaDB [(none)]> use zabbix;
MariaDB [zabbix]> show tables;
#就会看到很多表,这就说明导入成功了;
就会看到一个zabbix目录
8、修改 zabbix-server 和 php配置文件
8.1、编辑 zabbix_server.conf
bash#进入zabbix_server.conf配置文件中
vim /etc/zabbix/zabbix_server.conf

#找到对应项有注释则取消;没有的则添加;
DBHost= localhost
DBPassword = 123456
8.2、编辑php配置文件
bash#进入php的配置文件
vim /etc/opt/rh/rh-php72/php-fpm.d/zabbix.conf

#删除第25行,也就是最后一行;
dd就可以删除了

#更改时区为上海时区
php_value[date.timezone] = Asia/Shanghai
保存退出,启动服务就可以;
9、启动所有服务并设置开机自启
bash#启动zabbix-server zabbix-agent httpd rh-php72-php-fpm
systemctl restart zabbix-server zabbix-agent httpd rh-php72-php-fpm
#设置开机自启
systemctl enable zabbix-server zabbix-agent httpd rh-php72-php-fpm

10、如果存在问题请检查日志
bashvim /var/log/zabbix_server.log
常见问题:
问题1: cannot start preprocessing service: Cannot bind socket to “/var/run/zabbix/zabbix_server_preprocessing.sock”: [13] Permission denied. 解决: 关闭系统防火墙:
systemctl stop firewalld.service #停止firewall systemctl disable firewalld.service #禁止firewall开机启动 重启 zabbix 服务: systemctl start zabbix-server zabbix-agent httpd
问题2: cannot start alert manager service: Cannot bind socket to “/var/run/zabbix/zabbix_server_alerter.sock”: [13] Permission denied. **解决:**关闭selinux: 修改 etc/selinux/config 设置SELINUX=disabled 重启系统 setenforce 0(如果不想重启服务器可以运行此命令)。#使配置升效。 重启 zabbix 服务: systemctl start zabbix-server zabbix-agent httpd
页面访问
ip/zabbix
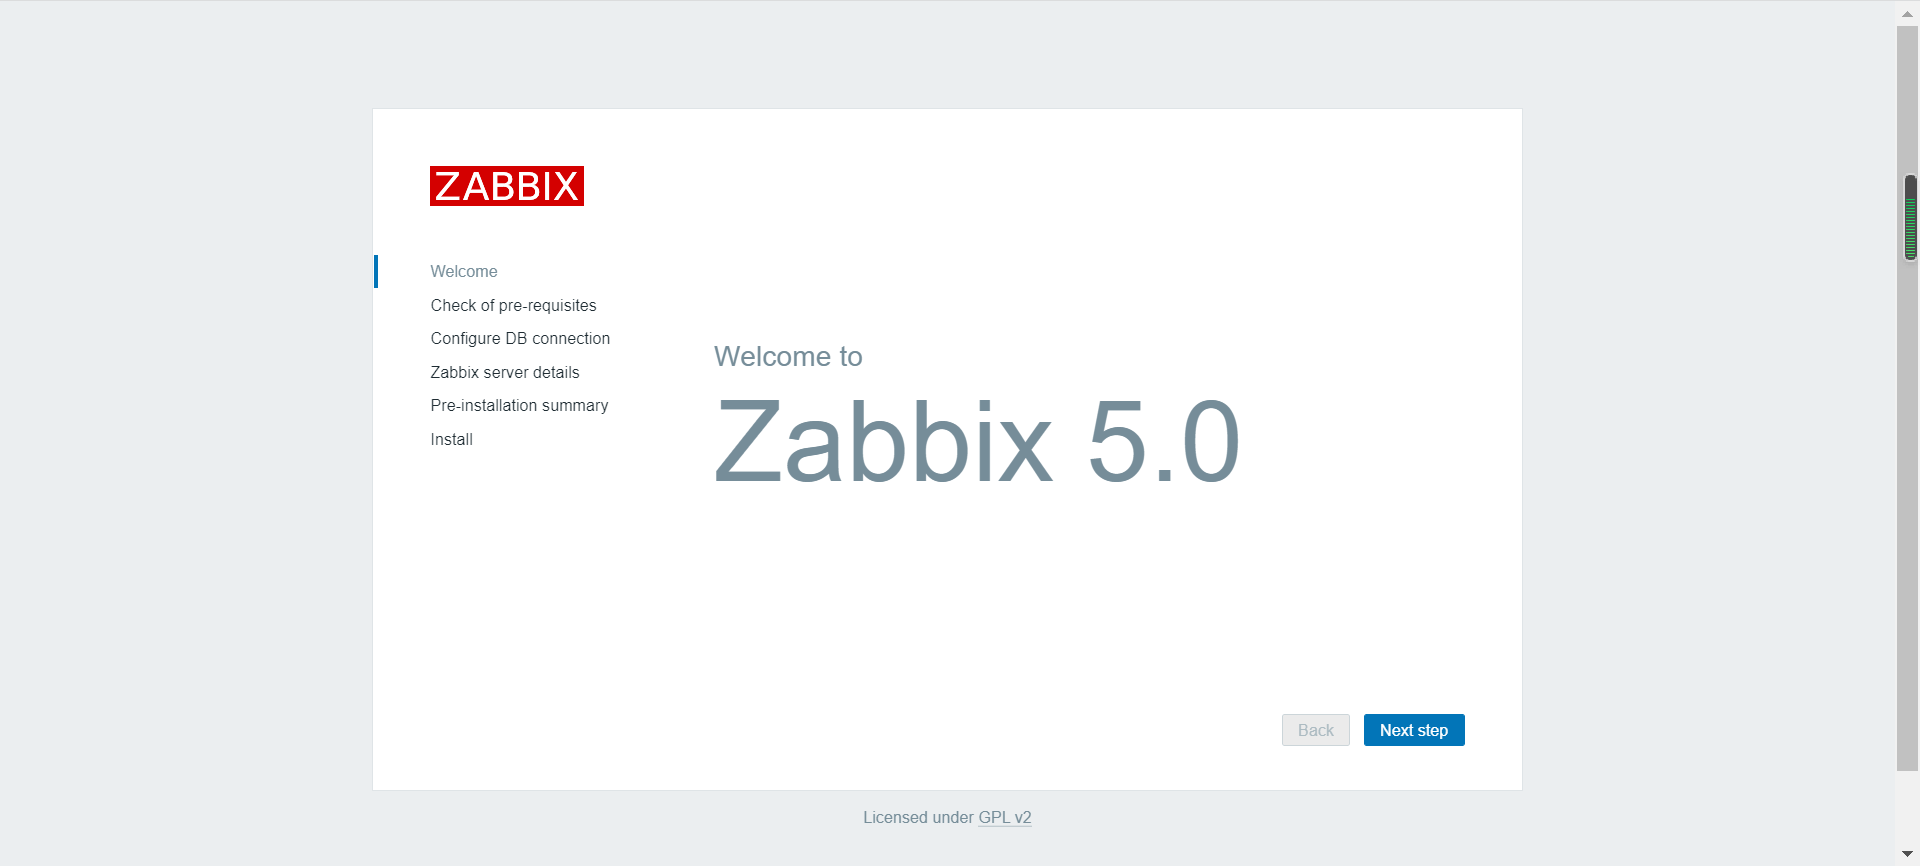
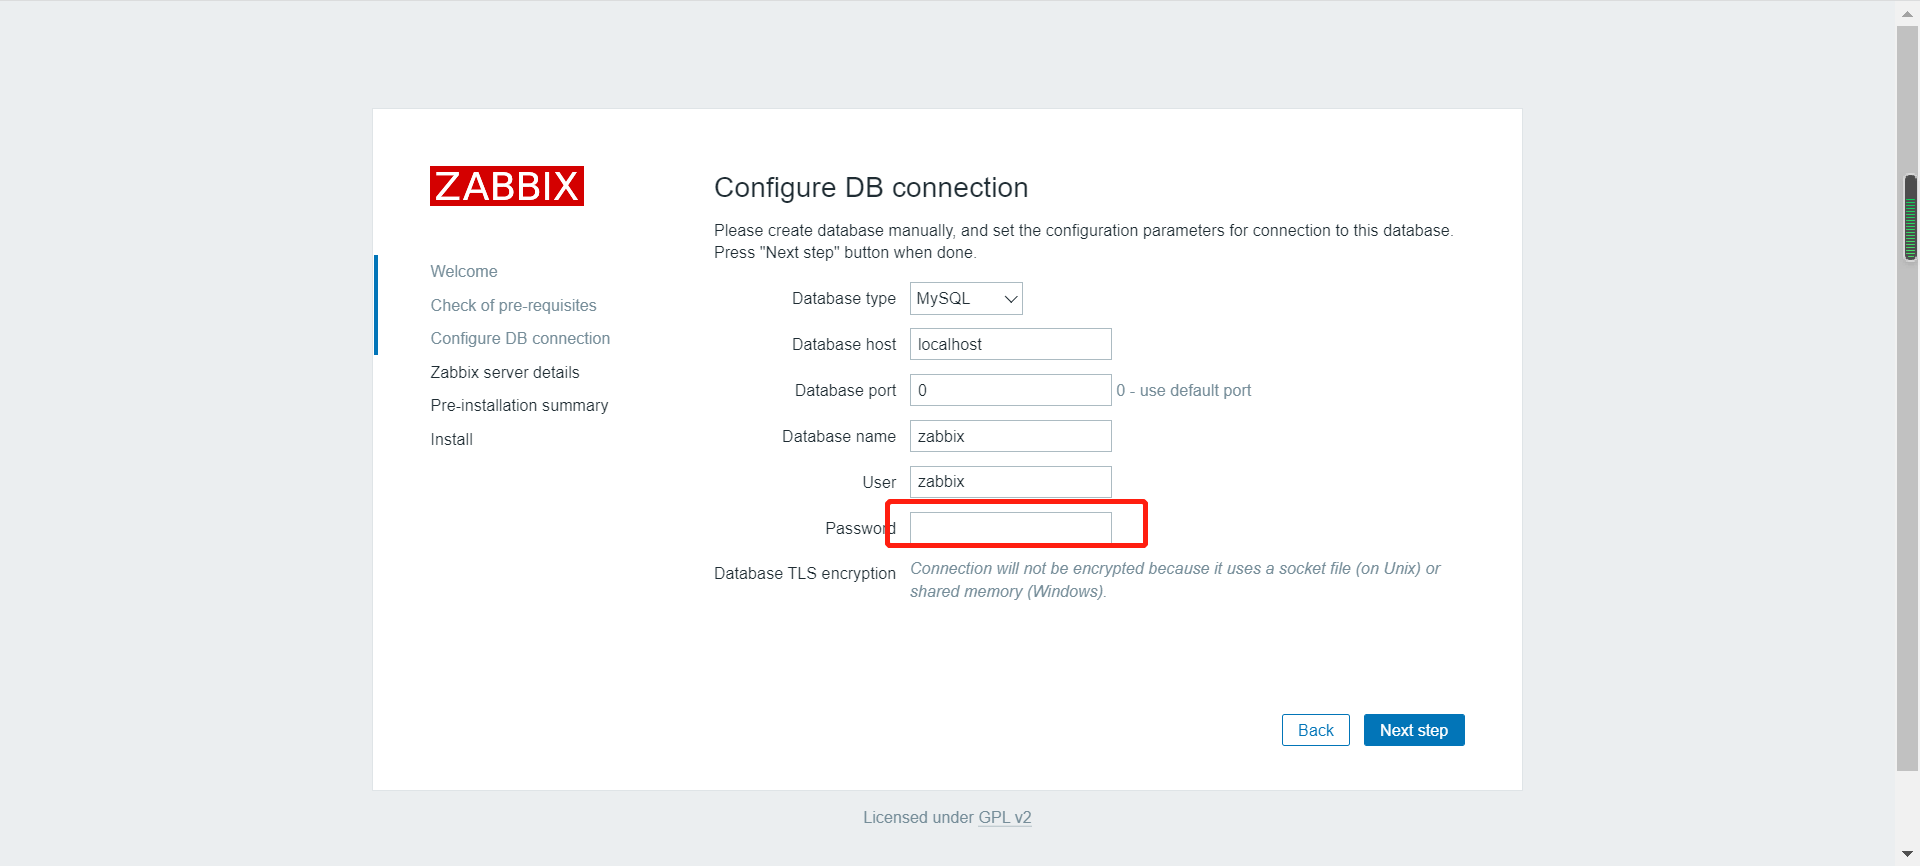
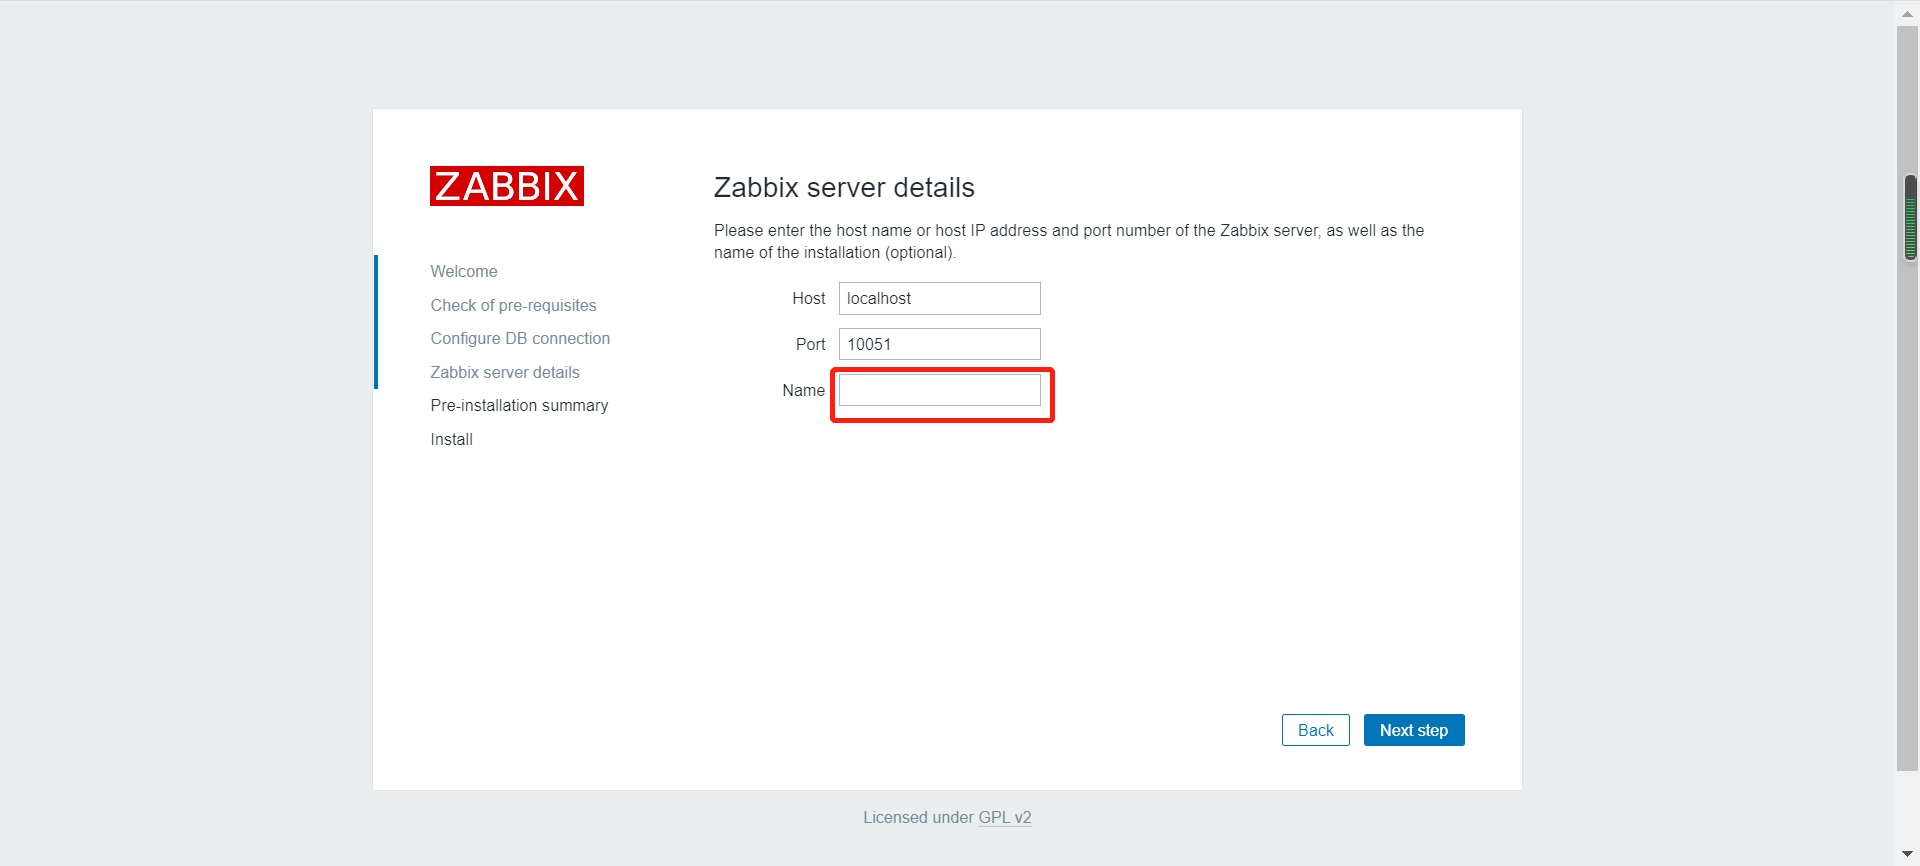
一路next step,到这个要输入密码,密码是123456
下一步,需要你给这个监控起一个名字;
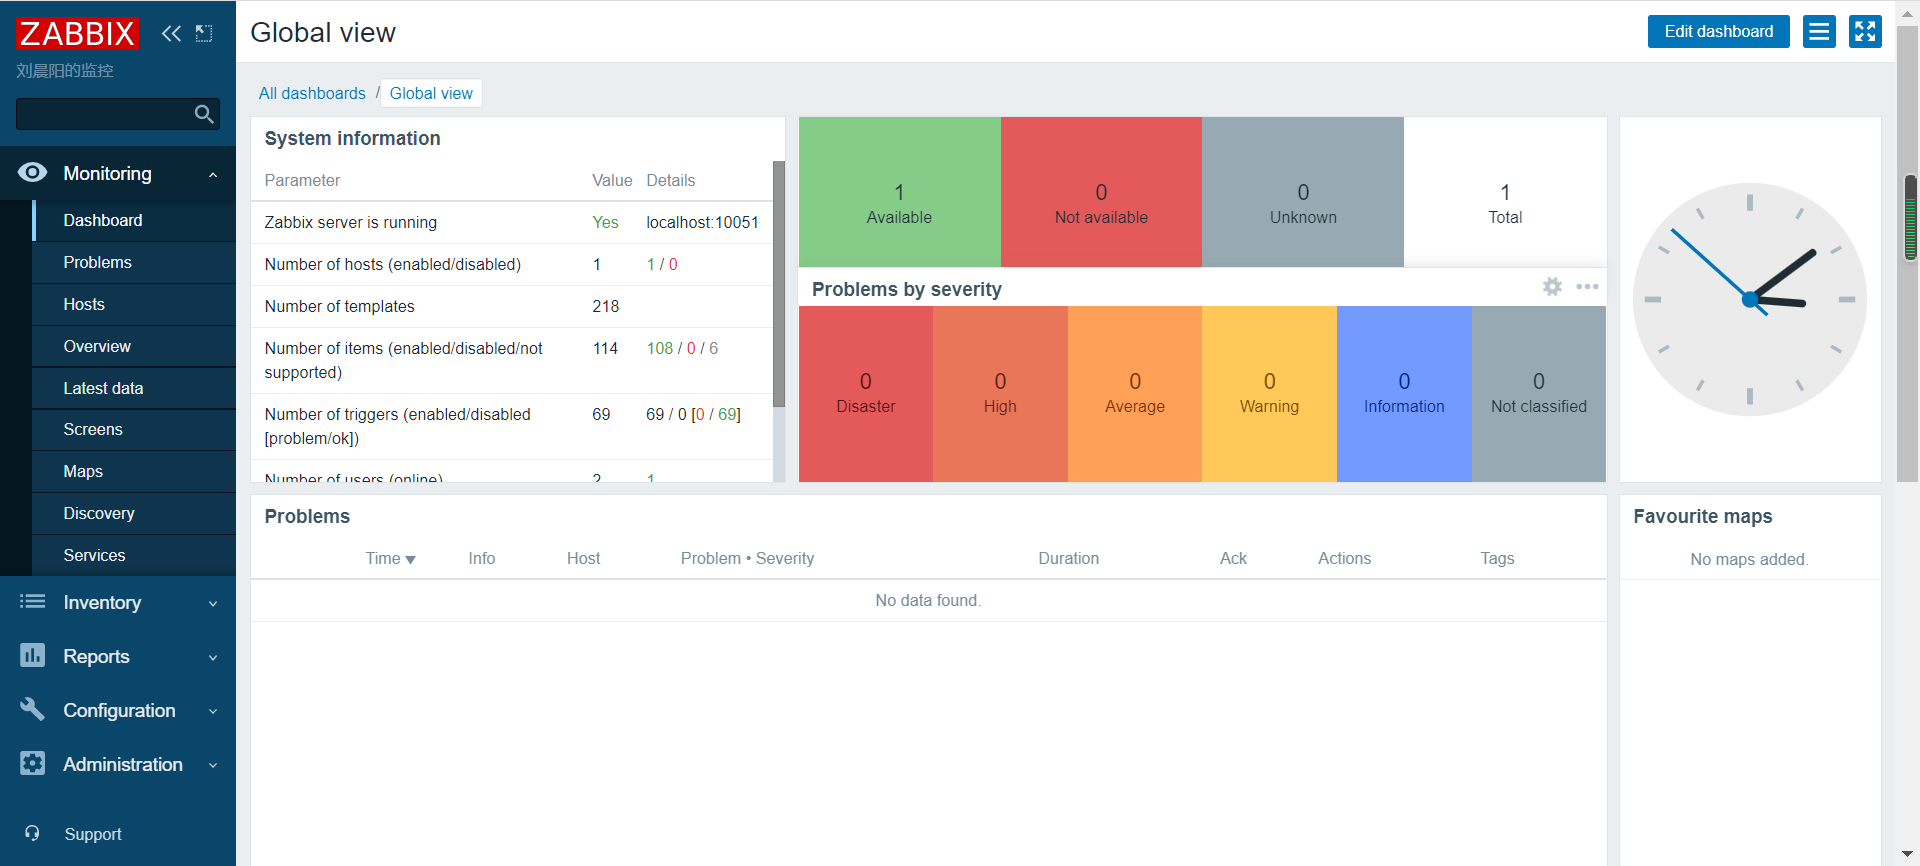
一直下一步,直到登录(默认的账号是:Admin 密码是:zabbix)

登录进入页面就可以了;


本文作者:Gustav
本文链接:
版权声明:本博客所有文章除特别声明外,均采用 BY-NC-SA 许可协议。转载请注明出处!